Web Scraping and Giphy API Integration#
In this tutorial, we will explore how to leverage the FastAgency framework to create a dynamic and interactive chatbot that integrates two powerful agents:
-
WebSurferAgent– A web-scraping agent capable of retrieving relevant content from webpages (learn more here). -
Giphy agent – An agent that interacts with the Giphy API to fetch GIFs based on the user’s request. It will be created using the standard
ConversableAgentfrom AG2 and theOpenAPIobject instantiated with an OpenAPI specification
The chat system will operate between these two agents and the user, allowing them to scrape web content and generate GIFs based on that content, all within a seamless conversation. This tutorial will guide you through setting up these agents and handling user interaction in a secure, structured, and intuitive manner.
What You’ll Learn#
By the end of this tutorial, you’ll understand how to:
- Integrate external APIs like Giphy with FastAgency.
- Build and register agents that autonomously scrape the web for relevant information using
WebSurferAgent. - Use
Workflowto manage agent interactions and user input. - Present scraped content to the user and offer personalized GIF suggestions based on that content.
We will walk through setting up each agent, handling API security, and creating a cohesive conversation that can scrape data, process user input, and generate GIFs in response.
Let’s dive into creating a powerful interactive agent system with FastAgency!
Project setup#
We strongly recommend using Cookiecutter for setting up the project. It creates the project folder structure, default workflow, automatically installs all the necessary requirements, and creates a devcontainer that can be used with Visual Studio Code for development.
You could also use virtual environment managers such as venv, and a Python package manager, such as pip.
-
Install Cookiecutter with the following command:
-
Run the
cookiecuttercommand: -
Depending on the type of the project, choose the appropriate option in step 3:
[1/4] project_name (My FastAgency App):
[2/4] project_slug (my_fastagency_app):
[3/4] Select app_type
    1 - fastapi+mesop
    2 - mesop
    3 - nats+fastapi+mesop
    Choose from [1/2/3] (1): 2
[4/4] Select python_version
    1 - 3.12
    2 - 3.11
    3 - 3.10
    Choose from [1/2/3] (1):
This command installs FastAgency with support for both the Console and Mesop interfaces for AG2 workflows.
-
Executing the
cookiecuttercommand will create the following file structure:my_fastagency_app ├── docker │ ├── content │ │ ├── nginx.conf.template │ │ └── run_fastagency.sh │ └── Dockerfile ├── my_fastagency_app │ ├── deployment │ │ ├── __init__.py │ │ └── main.py │ ├── local │ │ ├── __init__.py │ │ ├── main_console.py │ │ └── main_mesop.py │ ├── __init__.py │ └── workflow.py ├── scripts │ ├── build_docker.sh │ ├── check-registered-app-pre-commit.sh │ ├── check-registered-app.sh │ ├── deploy_to_fly_io.sh │ ├── lint-pre-commit.sh │ ├── lint.sh │ ├── register_to_fly_io.sh │ ├── run_docker.sh │ ├── run_mesop_locally.sh │ ├── static-analysis.sh │ └── static-pre-commit.sh ├── tests │ ├── __init__.py │ ├── conftest.py │ └── test_workflow.py ├── README.md ├── fly.toml └── pyproject.toml -
To run LLM-based applications, you need an API key for the LLM used. The most commonly used LLM is OpenAI. To use it, create an OpenAI API Key and set it as an environment variable in the terminal using the following command:
If you want to use a different LLM provider, follow this guide.
Alternatively, you can skip this step and set the LLM API key as an environment variable later in the devcontainer's terminal. If you open the project in Visual Studio Code using GUI, you will need to manually set the environment variable in the devcontainer's terminal.
-
Open the generated project in Visual Studio Code with the following command:
-
Once the project is opened, you will get the following option to reopen it in a devcontainer:
-
After reopening the project in devcontainer, you can verify that the setup is correct by running the provided tests with the following command:
You should get the following output if everything is correctly setup.
=================================== test session starts ===================================
platform linux -- Python 3.12.7, pytest-8.3.3, pluggy-1.5.0
rootdir: /workspaces/my_fastagency_app
configfile: pyproject.toml
plugins: asyncio-0.24.0, anyio-4.6.2.post1
asyncio: mode=Mode.STRICT, default_loop_scope=None
collected 1 item

tests/test_workflow.py .                                                            [100%]

==================================== 1 passed in 1.02s ====================================
Running the test could take up to 30 seconds, depending on latency and throughput of OpenAI (or other LLM providers).
-
Install additional dependencies which will be needed for this tutorial:
Info
If you used a different project_slug than the default my_fastagency_app this will be reflected in the project module naming. Keep this in mind when running the commands further in this guide (in Run Application), you will need to replace my_fastagency_app with your project_slug name.
API Key Setup#
WebSurferAgent requires an Bing Web Search API key and Giphy agent requires an API key to interact with Giphy's service. Follow these steps to create your API keys:
Create Bing Web Search API Key#
To create Bing Web Search API key, follow the guide provided.
Note
You will need to create Microsoft Azure Account.
Create a Giphy Account#
Step 1: If you don’t have a Giphy account, you’ll need to sign up:
- Go to Giphy Developers
- Click on Create Account.
Step 2: Navigate to Dashboard
Note
You may need to wait a few minutes after creating your account before being able to access the Dashboard page.
- Click on Create an API key and choose API as the type of app and give it a name (e.g., "FastAgency Giphy App").
- Agree to the terms and click Create App.
Step 3: Get Your API Key After creating the app, you’ll be provided with an API Key.
- Copy this key and continue with the following steps.
Set Up Your API Keys in the Environment#
To securely use the API keys in your project, you should store it in an environment variables.
You can set the API keys in your terminal as an environment variable:
Complete Application Code#
Workflow Code#
You need to define the workflow that your application will use. This is where you specify how the agents interact and what they do.
Workflow will be generated within the my_fastagency_app/workflow.py folder. You will need to replace the existing workflow.py with the code below.
Create workflow.py and paste the code below inside.
workflow.py
import os
from typing import Annotated, Any, Optional
from autogen import register_function, ConversableAgent, LLMConfig
from fastagency import UI
from fastagency.api.openapi import OpenAPI
from fastagency.api.openapi.security import APIKeyQuery
from fastagency.runtimes.ag2.agents.websurfer import WebSurferAgent
from fastagency.runtimes.ag2 import Workflow
llm_config = LLMConfig(
model="gpt-4o-mini",
api_key=os.getenv("OPENAI_API_KEY"),
temperature=0.8,
)
openapi_url = "https://raw.githubusercontent.com/ag2ai/fastagency/refs/heads/main/examples/openapi/giphy_openapi.json"
giphy_api = OpenAPI.create(openapi_url=openapi_url)

giphy_api_key = os.getenv("GIPHY_API_KEY", "")
giphy_api.set_security_params(APIKeyQuery.Parameters(value=giphy_api_key))
GIPHY_SYSTEM_MESSAGE = """You are an agent in charge to communicate with the user and Giphy API.
Always use 'present_completed_task_or_ask_question' to interact with the user.
- make sure that the 'message' parameter contains all the necessary information for the user!
Initially, the Web_Surfer_Agent will provide you with some content from the web.
You must present this content provided Web_Surfer_Agent to the user by using 'present_completed_task_or_ask_question'.
Along with the content, ask the user if he wants you to generate some gifs based on the content.
- Do NOT generate gifs BEFORE you present the web content to the user, otherwise, you will be penalized!
Once get the wanted gifs, present them to the user by using 'present_completed_task_or_ask_question' again.
Note: Use '.gif' files when presenting a gif to the user and format it as a markdown gif -> 
- Also, make sure to add new lines '\n\n' between headlines and gifs for better readability.
e.g.:
'''
# Here are some gifs for you:
## Title 1

## Title 2

'''
Write 'TERMINATE' to end the conversation."""
wf = Workflow()
@wf.register(name="giphy_and_websurfer", description="Giphy and Websurfer chat")
def giphy_workflow_with_security(
    ui: UI, params: dict[str, Any]
) -> str:
def is_termination_msg(msg: dict[str, Any]) -> bool:
return msg["content"] is not None and "TERMINATE" in msg["content"]
    def present_completed_task_or_ask_question(
        message: Annotated[str, "Message for examiner"],
    ) -> Optional[str]:
        try:
            return ui.text_input(
                sender="giphy_agent",
                recipient="giphy_agent",
                prompt=message,
            )
        except Exception as e:  # pragma: no cover
            return f"present_completed_task_or_ask_question() FAILED! {e}"
    giphy_agent = ConversableAgent(
        name="Giphy_Agent",
        system_message=GIPHY_SYSTEM_MESSAGE,
        llm_config=llm_config,
        human_input_mode="NEVER",
        is_termination_msg=is_termination_msg,
    )
    web_surfer = WebSurferAgent(
        name="Web_Surfer_Agent",
        llm_config=llm_config,
        summarizer_llm_config=llm_config,
        human_input_mode="NEVER",
        executor=giphy_agent,
        is_termination_msg=is_termination_msg,
        bing_api_key=os.getenv("BING_API_KEY")
    )
    register_function(
        present_completed_task_or_ask_question,
        caller=giphy_agent,
        executor=web_surfer,
        name="present_completed_task_or_ask_question",
        description="""Present completed task or ask question.
If you are presenting a completed task, last message should be a question: 'Do yo need anything else?'""",
    )
    functions = ["random_gif", "search_gifs", "trending_gifs"]
    wf.register_api(
        api=giphy_api,
        callers=giphy_agent,
        executors=web_surfer,
        functions=functions,
    )
initial_message = ui.text_input(
sender="Workflow",
recipient="User",
prompt="I can help you find images related to a certain subject. What kind of images would you like to find?",
)
    response = giphy_agent.run(
        web_surfer,
        message=f"Users initial message: {initial_message}",
        summary_method="reflection_with_llm",
        max_turns=10,
    )

    return ui.process(response)  # type: ignore[no-any-return]
Deployment Code#
Deployment files will be generated under my_fastagency_app/deployment folder. Generated main.py should be the same as the code below. You don't need change anything.
Create deployment/main.py and paste the code below inside.
main.py
Code Walkthrough#
Now we will go over each key part of the code, explaining its function and purpose within the FastAgency framework. Understanding these components is crucial for building a dynamic interaction between the user, the WebSurferAgent, and the Giphy agent.
Creating the Giphy API Instance#
The following lines shows hot to initializes the Giphy API by loading the OpenAPI specification from a URL. The OpenAPI spec defines how to interact with the Giphy API, including endpoints, parameters, and security details.
Also, we configure the Giphy API with the GIPHY_API_KEY using set_security_params to authenticate our requests.
openapi_url = "https://raw.githubusercontent.com/ag2ai/fastagency/refs/heads/main/examples/openapi/giphy_openapi.json"
giphy_api = OpenAPI.create(openapi_url=openapi_url)
giphy_api_key = os.getenv("GIPHY_API_KEY", "")
giphy_api.set_security_params(APIKeyQuery.Parameters(value=giphy_api_key))
For more information, visit API Integration User Guide.
Registering the Workflow#
Here, we initialize a new workflow using Workflow() and register it under the name "giphy_and_websurfer". The @wf.register decorator registers the function to handle chat flow with security enabled, combining both Giphy agent and WebSurferAgent.
@wf.register(name="giphy_and_websurfer", description="Giphy and Websurfer chat")
def giphy_workflow_with_security(
ui: UI, params: dict[str, Any]
) -> str:
Interaction with the user#
This is a core function used by the Giphy agent to either present the task result or ask a follow-up question to the user. The message is wrapped in a TextInput object, and then ui.process_message() sends it for user interaction.
def present_completed_task_or_ask_question(
message: Annotated[str, "Message for examiner"],
) -> Optional[str]:
try:
return ui.text_input(
sender="giphy_agent",
recipient="giphy_agent",
prompt=message,
)
except Exception as e: # pragma: no cover
return f"present_completed_task_or_ask_question() FAILED! {e}"
Creating the Giphy and WebSurfer Agents#
- Giphy agent: A ConversableAgent is created with the name "Giphy_Agent". It uses the system message defined earlier and relies on the termination function to end the chat when needed.
- WebSurferAgent: The
WebSurferAgentis responsible for scraping web content and passes the retrieved data to the Giphy agent. It’s configured with a summarizer to condense web content, which is useful when presenting concise data to the user. For more information, visit WebSurfer User Guide.
giphy_agent = ConversableAgent(
name="Giphy_Agent",
system_message=GIPHY_SYSTEM_MESSAGE,
llm_config=llm_config,
human_input_mode="NEVER",
is_termination_msg=is_termination_msg,
)
web_surfer = WebSurferAgent(
name="Web_Surfer_Agent",
llm_config=llm_config,
summarizer_llm_config=llm_config,
human_input_mode="NEVER",
executor=giphy_agent,
is_termination_msg=is_termination_msg,
bing_api_key=os.getenv("BING_API_KEY")
)
Registering Functions#
The function present_completed_task_or_ask_question is registered to allow the Giphy agent to ask questions or present completed tasks after receiving data from the WebSurferAgent.
register_function(
present_completed_task_or_ask_question,
caller=giphy_agent,
executor=web_surfer,
name="present_completed_task_or_ask_question",
description="""Present completed task or ask question.
If you are presenting a completed task, last message should be a question: 'Do yo need anything else?'""",
)
We specify which Giphy API functions can be used by the Giphy agent: random_gif, search_gifs, and trending_gifs. These functions allow the agent to generate GIFs based on user input or trending content.
functions = ["random_gif", "search_gifs", "trending_gifs"]
wf.register_api(
api=giphy_api,
callers=giphy_agent,
executors=web_surfer,
functions=functions,
)
Initiating the Chat#
We initiate the conversation between the user, WebSurferAgent, and Giphy agent. The user’s initial message is provided, and the system is configured to handle up to 10 turns of interaction. The conversation is summarized using the reflection_with_llm method, which uses a language model to summarize the chat.
Once the conversation ends, the summary is returned to the user, wrapping up the session.
response = giphy_agent.run(
web_surfer,
message=f"Users initial message: {initial_message}",
summary_method="reflection_with_llm",
max_turns=10,
)
return ui.process(response) # type: ignore[no-any-return]
Starting the Application#
The FastAgency app is created, using the registered workflows (wf) and web-based user interface (MesopUI). This makes the conversation between agents and the user interactive.
For more information, visit Mesop User Guide.
Running the Application#
The preferred way to run the Mesop application is using a Python WSGI HTTP server like Gunicorn on Linux and Mac or Waitress on Windows.
[2024-10-10 13:19:18 +0530] [23635] [INFO] Starting gunicorn 23.0.0
[2024-10-10 13:19:18 +0530] [23635] [INFO] Listening at: http://127.0.0.1:8000 (23635)
[2024-10-10 13:19:18 +0530] [23635] [INFO] Using worker: sync
[2024-10-10 13:19:18 +0530] [23645] [INFO] Booting worker with pid: 23645
The command will launch a web interface where users can input their requests and interact with the agents (in this case http://localhost:8000)
Note
Ensure that your OpenAI API key is set in the environment, as the agents rely on it to interact using GPT-4o. If the API key is not correctly configured, the application may fail to retrieve LLM-powered responses.
Chat Example#
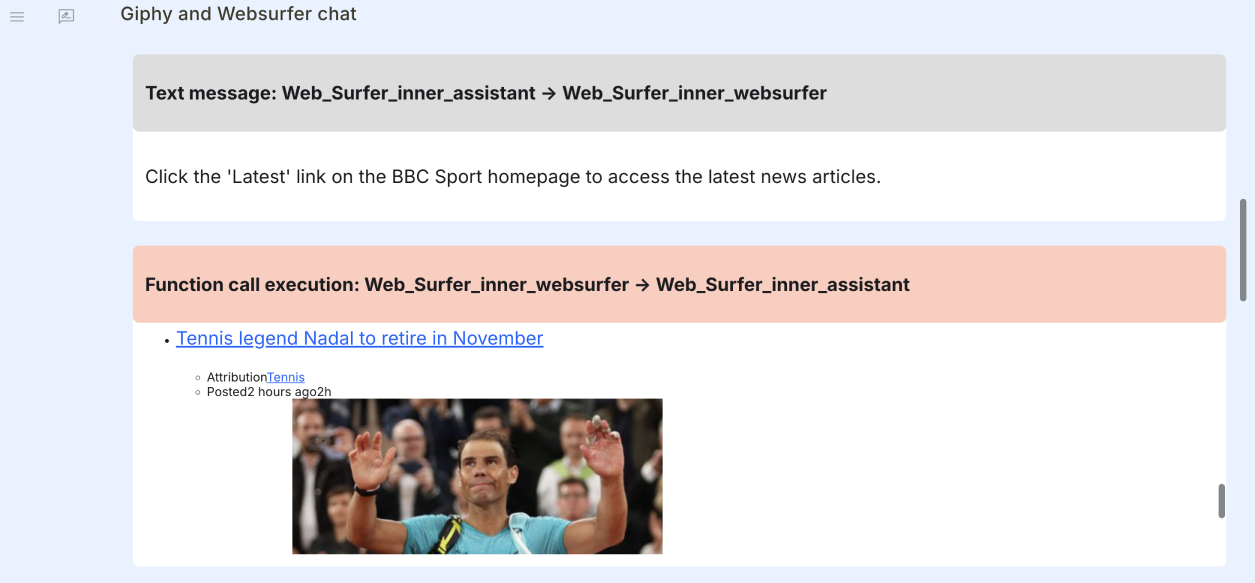
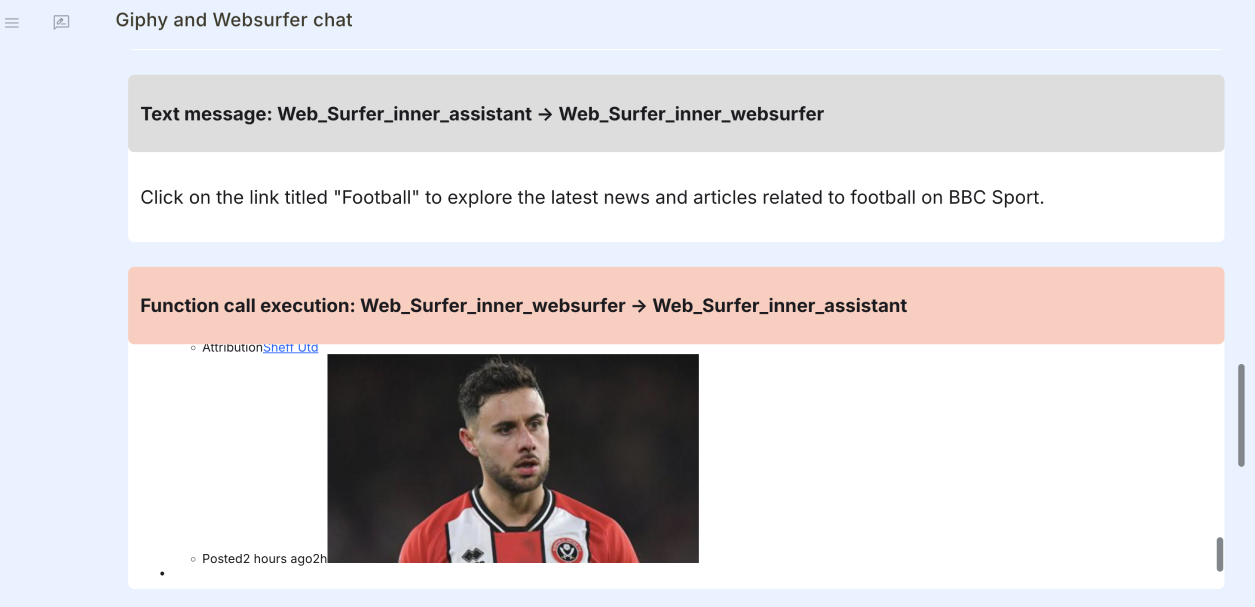
In this scenario, the user instructs the agents to scrape BBC Sport for the latest sports news.
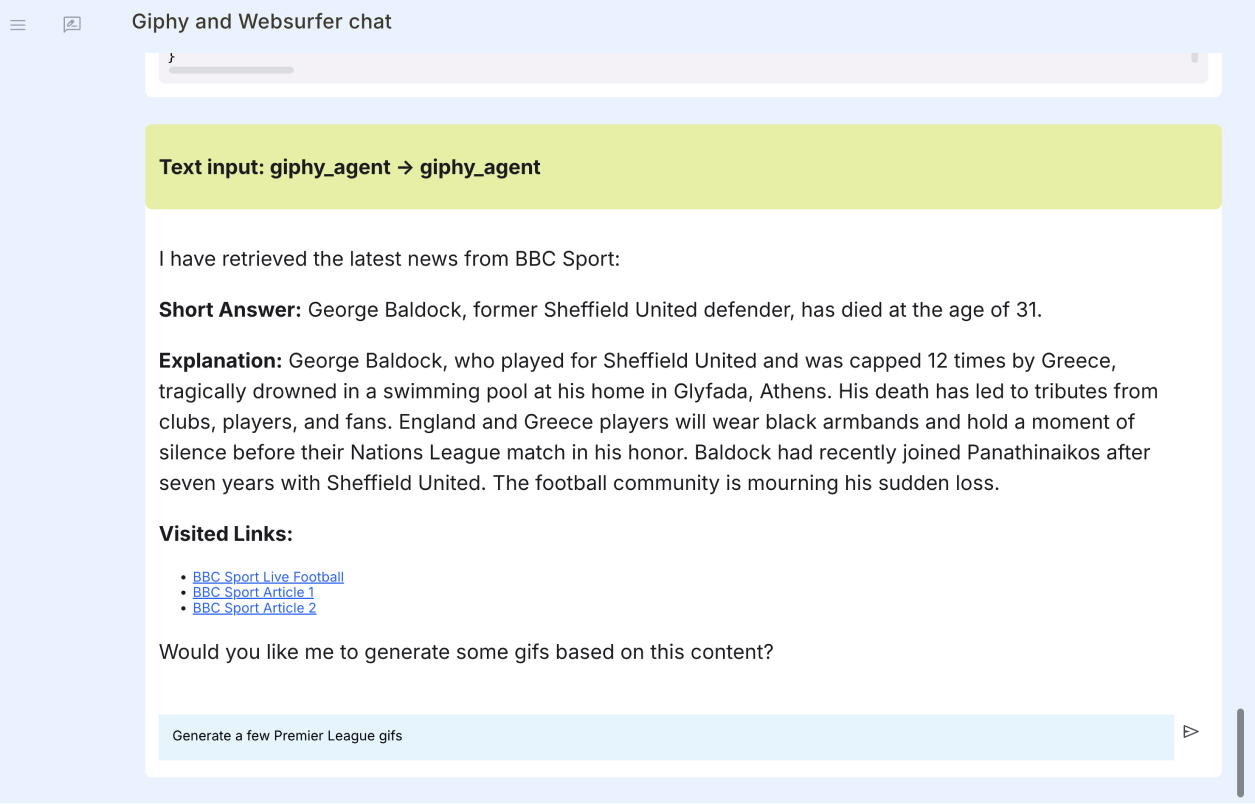
Upon receiving the request, WebSurferAgent initiates the process by scraping the webpage for relevant updates.
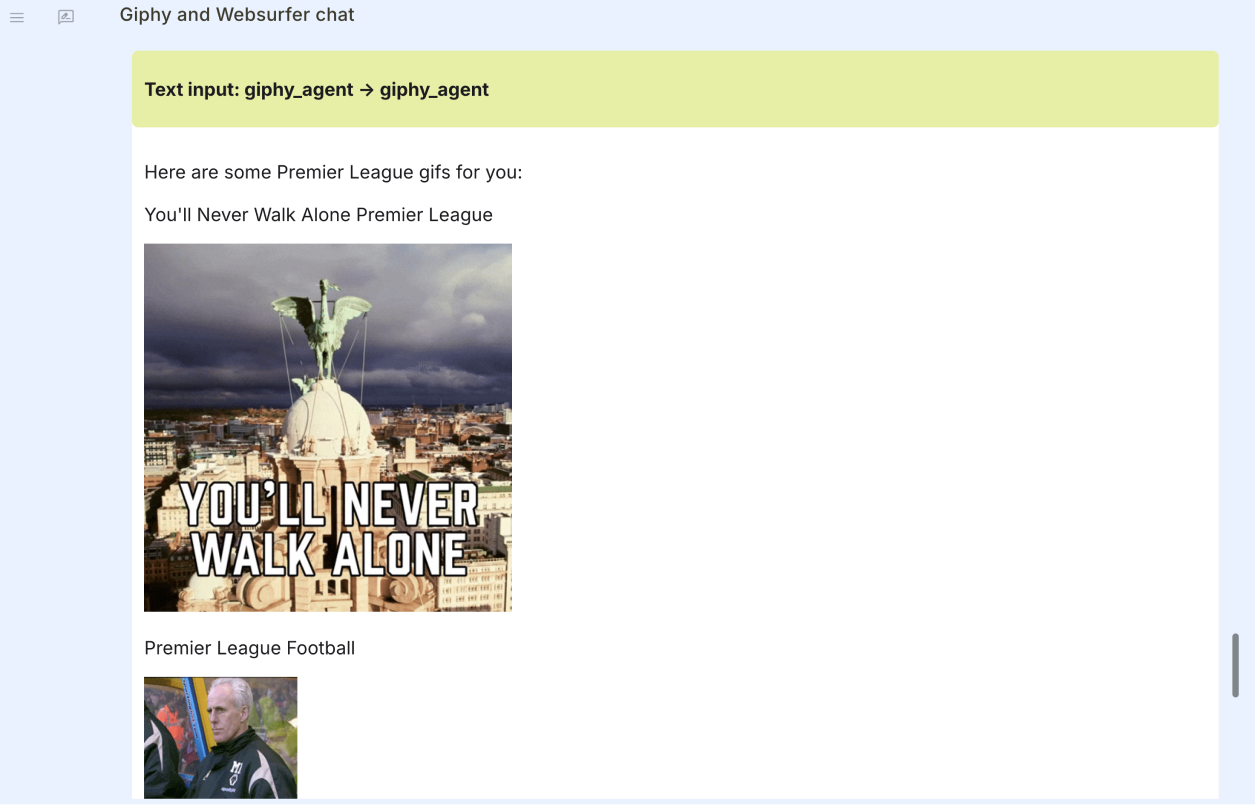
Once the scraping is complete, the agents deliver their findings to the user. In the final step, the user asks for a few Premier League GIFs, which Giphy agent promptly provides.
Conclusion#
In this tutorial, we walked through how to create a simple chatbot using FastAgency that can scrape web content and provide relevant GIFs. By integrating the WebSurferAgent and Giphy agent, we built a tool that lets users gather information from the web and request GIFs all in one conversation.
You’ve learned how to:
- Set up and connect external APIs, like Giphy, to your project.
- Handle API key security.
- Build an interactive workflow where users can scrape content and get personalized responses.
- Offer dynamic, engaging conversations with added visuals like GIFs.
- With these skills, you now have the foundation to expand and add more features to your chatbot, making it even more interactive and useful.


